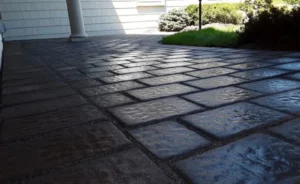
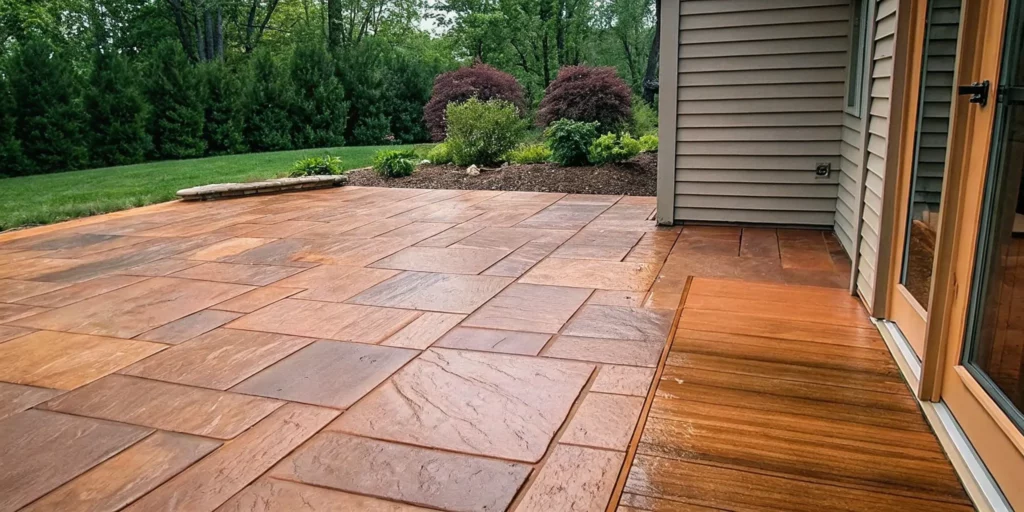
Winter rarely leaves a Long Island patio exactly as it found it. Loose joint sand, dark growth, and shifted edges reveal where seasonal stress took hold.
Get a free post-winter paver estimate from Gulf2Bay Softwash.
Paver sealing after winter Long Island weather should begin with a careful spring inspection, not an automatic coat of sealer. Homeowners should check patios and walkways for loose or missing joint sand, uneven or rocking pavers, surface flaking, stains, algae, standing water, and failed sealer. Because frozen water inside porous materials can drive decay, the National Park Service emphasizes diagnosing the cause of damage before choosing a treatment. A professional evaluation can determine whether the surface needs cleaning, joint-sand replacement, minor repairs, and sealing, or whether drainage and structural issues require attention first. Cleaning before sealing also prevents dirt and organic growth from becoming trapped beneath the protective finish for the season ahead.
The right time to schedule service depends on what winter exposed, how the pavers drain, and whether the existing finish still protects the surface. Use the Paver sealing after winter Long Island inspection checklist to separate simple spring cleanup from damage that needs expert attention. Here is how.
Paver sealing after winter Long Island inspection checklist
Start a spring inspection after the patio or walkway is dry and clear of debris. Walk the full area in daylight, then note each concern by location. This checklist helps organize what you see before scheduling paver sealing after winter on Long Island.
What to bring
Bring a phone, chalk, a notepad, and a straight board or level. Take wide photos first, then close-ups of stains, joints, edges, and low spots. Mark problem areas with chalk so they are easy to find during a later evaluation.
Do not treat one visible symptom as proof of a specific problem. Water, soil movement, wear, and past repairs can leave similar signs. The National Park Service notes that proper masonry care starts by diagnosing the cause of damage before choosing a treatment.
Six-point walkthrough
Follow the same route each time, moving from the house toward the patio or walkway edge. Compare shaded and sunny areas, since they may dry at different rates. Record what you find without scraping, lifting, or resealing any units.
- Check stains and organic growth. Note dark patches, green growth, rust marks, oil spots, or leaf stains. Photograph their size and exact location.
- Review joint sand. Look for low, empty, or washed-out joints, especially near edges and downspouts. Note weeds or loose sand on nearby surfaces.
- Look for loose or uneven units. Gently test for movement underfoot. Mark raised edges, sunken areas, or gaps that may create a trip risk.
- Watch drainage and puddling. Inspect after rain when possible. Note standing water, slow-drying zones, runoff paths, and water collecting near the foundation.
- Review the existing finish. Look for faded color, dull areas, patchy sheen, peeling, or whitening. Compare high-traffic zones with less-used corners.
- Check surface condition. Record chips, cracks, flaking, scaling, or crumbling edges. Avoid calling the cause until a trained professional reviews the area.
From notes to an evaluation
Group your photos by area and add a short note about when each issue appeared. Include recent drainage changes, deicing product use, or prior repairs if known. These details help a professional separate cleaning needs from joint, drainage, or surface concerns.
Cleaning should happen before sealing so stains and organic growth are not trapped beneath the finish. A paver cleaning and sealing service can also check joint sand, finish condition, and drainage before work begins.
Seek an evaluation before sealing if units move, puddles remain, or surface loss appears widespread. A documented inspection creates a clear starting point. It also makes future changes easier to track after cleaning, repair, or sealing.
Why winter exposure changes your pavers
Winter does not always create a new paver problem. It often makes a small drainage, joint, or surface issue easier to see. A careful spring review can separate loose debris from movement, worn joints, and areas that stay wet.
Freeze-thaw movement and trapped moisture
Water can enter joints and pores during rain, snowmelt, or a mild winter day. If that moisture freezes, it can place stress on pavers and nearby masonry. Research indexed by the U.S. Environmental Protection Agency shows that concrete frost damage depends greatly on how saturated its pores are.
This process may show up as a raised edge, a low spot, a wider joint, or a paver that rocks underfoot. The change can be slight, yet it may affect drainage and create a trip point. Look across the patio or walkway from a low angle, then check any uneven areas by hand.
Snowmelt, residue, and joint condition
Melting snow follows the surface grade and collects where water cannot drain well. Those damp areas can hold grit, leaves, and other debris against the pavers. As the surface dries, deicing products may also leave a pale residue that can hide the true finish.
Joint condition deserves the same attention. Runoff and seasonal cleanup can expose thin, low, or missing joint sand. Open joints also give weeds and loose debris room to settle. Before choosing paver sealing after winter on Long Island, note where the sand level differs from nearby joints.
- Check borders and steps for movement or gaps.
- Mark low areas where snowmelt gathers.
- Look for loose sand, residue, stains, and lodged debris.
- Compare shaded sections with areas that dry sooner.
A clean surface before treatment
A spring inspection should identify the cause before any coating covers the surface. The National Park Service explains that sound masonry care starts by diagnosing the cause of damage before selecting a treatment. That approach helps avoid sealing over dirt, organic growth, residue, or joints that still need repair.
Cleaning also gives you a clearer view of color, stains, and surface wear. Once the pavers are clean and dry, it is easier to judge what needs correction. A paver cleaning and sealing service can assess drainage, joint sand, and sealer needs as one connected system.
Does your patio need cleaning, sealing, or repair?
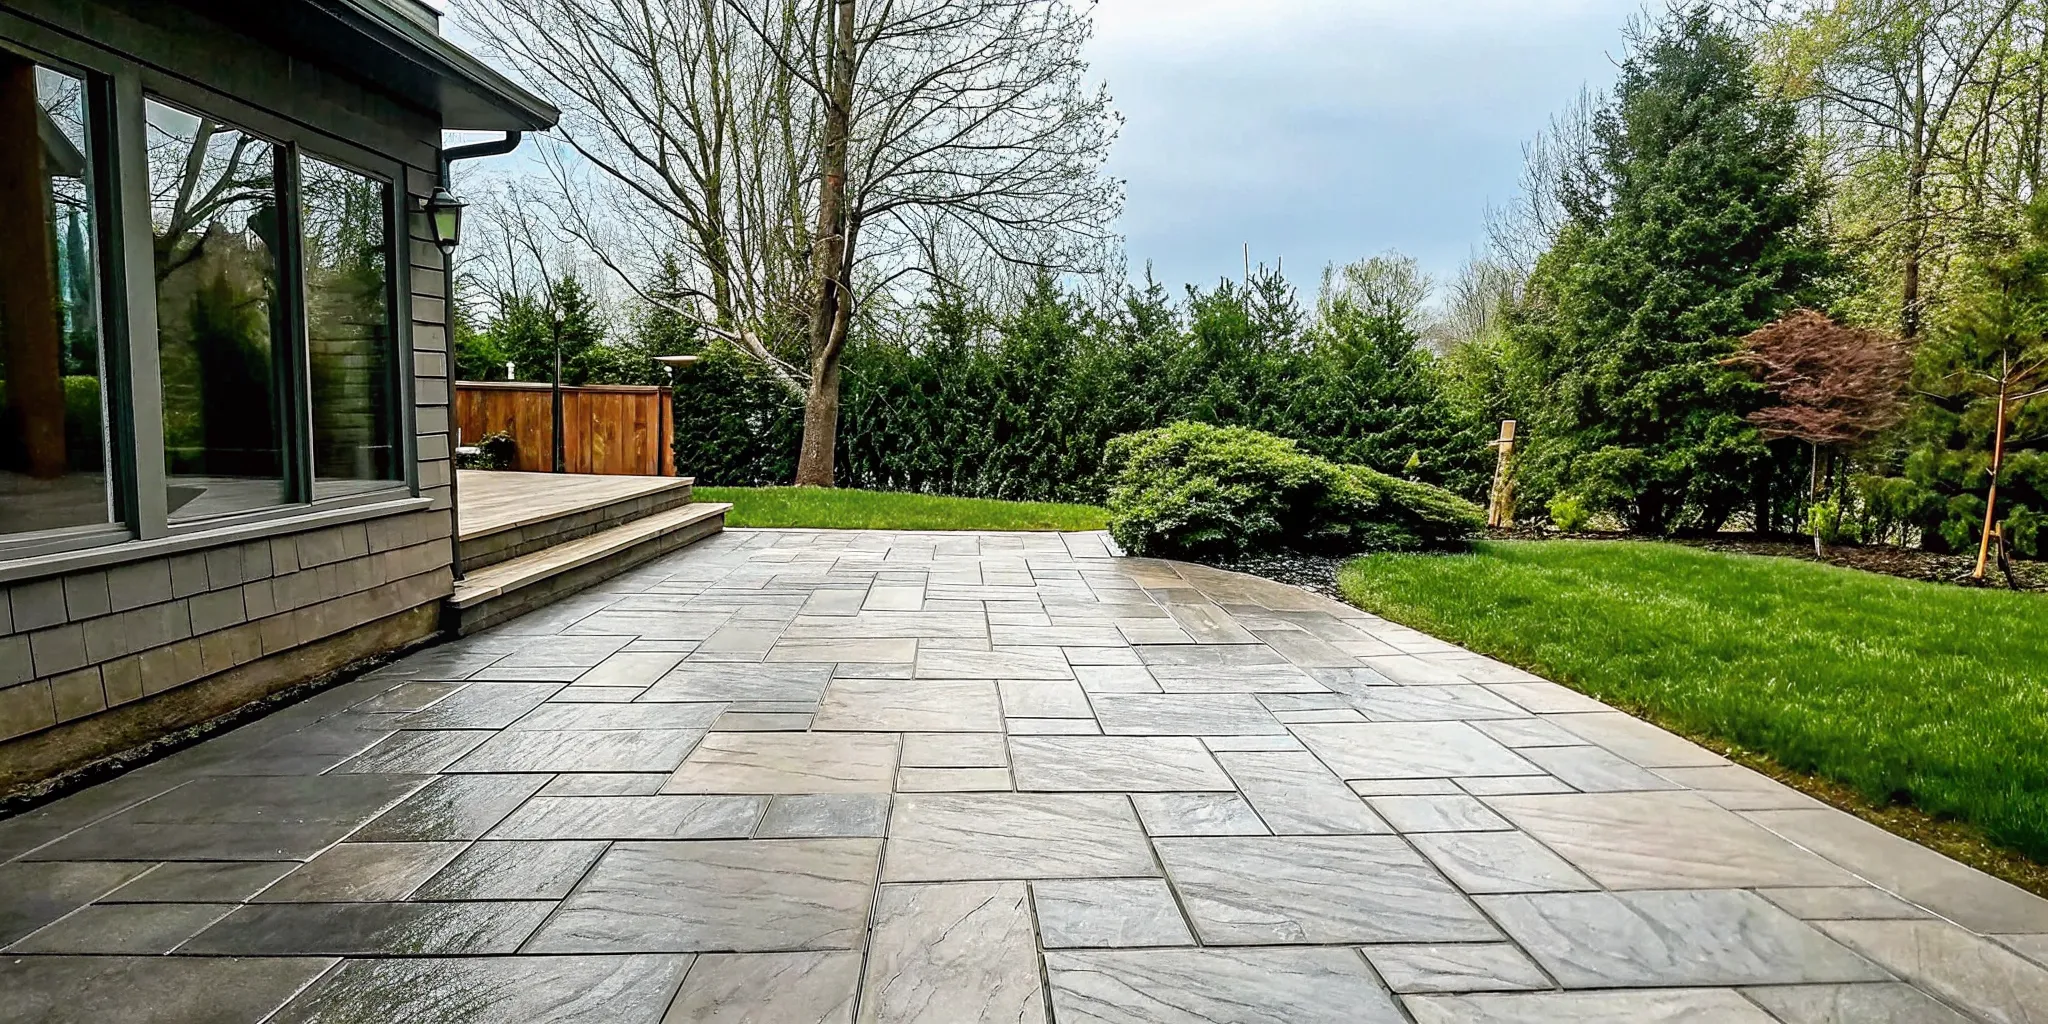
Spring dirt does not always mean your patio needs full restoration. Loose leaves, surface soil, and light organic growth may point to cleaning alone. Warning signs are different. Rocking pavers, wide joints, missing sand, low spots, cracks, and standing water call for a closer assessment.
That distinction matters when considering paver sealing after winter on Long Island. Sealer protects a prepared surface, but it cannot correct movement or poor drainage. A professional paver cleaning and sealing evaluation can separate cosmetic soil from damage that needs attention first.
Surface dirt or a deeper warning sign?
Start by walking the patio after it is dry. Look across the surface from a low angle, then test any pavers that seem uneven. Dark growth and stains often need cleaning. Movement underfoot, joint loss, and sunken areas may point to repair or sand replacement.
| What you see | Likely need | Why it matters |
|---|---|---|
| Loose dirt or leaf marks. | Cleaning assessment. | Soil may be only on the surface. |
| Dark organic growth. | Cleaning before sealing. | Growth should not be sealed beneath a coating. |
| Missing or washed-out joint sand. | Joint stabilization. | Open joints leave pavers less supported. |
| Rocking, cracked, or sunken pavers. | Repair assessment. | Sealer will not correct movement. |
| Clean, stable, even pavers. | Sealer assessment. | The surface may be ready for protection. |
The right order of work
The sound sequence is inspect, clean, repair, stabilize the joints, and then assess sealing. Cleaning exposes the true condition of the patio. It can reveal loose units, worn joints, or stains that were hidden beneath winter debris.
Next, minor repairs and joint work restore a stable base before sealer is considered. This approach follows a sound preservation rule: diagnose the cause before choosing treatment. The National Park Service guidance on stone and masonry explains why diagnosis should guide repair and damage control.
When sealing makes sense
Sealing makes sense after the patio is clean, dry, stable, and properly jointed. The finish should match the paver type and the homeowner’s preferred look. It should also suit the site’s drainage, shade, foot traffic, and exposure to winter weather.
Do not treat sealer as a cover for unresolved damage. Water held within porous material can raise the risk of cold-weather decay. An EPA-listed study on freeze-thaw damage also links frost resistance to pore saturation. Assessing each layer in order helps protect the patio without hiding problems beneath the finish.
When should you schedule a spring paver evaluation?
Schedule a spring paver evaluation after winter weather has eased and the whole patio or walkway is visible. The evaluation should happen before you commit to sealing or fill the calendar with outdoor plans. It gives you time to understand the surface condition without rushing into treatment.
Wait for a clear view of the surface
A useful evaluation depends on access to the full paved area. Lingering snow, standing water, and piles of stored furniture can hide joints, edges, stains, and low spots. Wait for conditions that let the evaluator see how the surface handled winter.
Spring weather on Long Island can shift, so an evaluation date is not always the sealing date. The first visit should focus on what the pavers need. A separate service plan can then account for suitable weather and surface conditions.
Inspect before choosing a treatment
Do not treat paver sealing after winter on Long Island as a simple coating appointment. First, check the pavers, joints, borders, drainage areas, and signs of unwanted growth. The National Park Service notes that sound stone and masonry care starts by diagnosing the cause of damage before choosing a treatment.
A full review can show whether the area needs cleaning, joint sand work, repairs, or another step before sealing. Dirt and unresolved concerns should not be covered by sealer. Gulf2Bay’s professional paver cleaning and sealing evaluation helps connect the visible condition with the right service plan.
Plan around access and outdoor use
Choose an evaluation date when furniture, grills, planters, and other items can be moved from the paved area. Tell the evaluator about heavy traffic zones, drainage concerns, or spots that felt uneven after winter. That context helps make the review more useful.
Also consider when your household plans to use the patio, walkway, pool area, or driveway. Upcoming gatherings, landscaping work, and other exterior projects may affect service access. Sharing those plans early helps avoid conflicts between paver care and normal use.
If other work may disturb the pavers, discuss the order of projects during the evaluation. Masonry repairs, furniture delivery, or nearby planting work may change the surface or block access. The goal is to schedule sealing only after the surface is clean, concerns are addressed, and the work area is ready.
What happens during a professional paver evaluation?
A professional evaluation starts with the condition of the patio or walkway, not with a preset sealing plan. The estimator should inspect the surface, joints, edges, and nearby drainage areas. This first look helps separate routine cleaning needs from loose pavers, weak joints, or other issues that may need attention.
Surface and joint inspection
The evaluator should look for stains, dirt, algae, moss, and signs of uneven wear. They should also note cracked or shifted units, low areas, and places where water tends to sit. Winter can expose weak spots, so the inspection should cover the full paved area rather than only the most visible stains.
Joints deserve a close look because missing or loose sand can change the service plan. An estimator may check joint depth, edge support, and signs of washout before suggesting new sand. This careful approach follows a sound preservation rule: diagnose the cause of damage before choosing a treatment.
Cleaning, preparation, and sealer choice
After the inspection, the estimator should explain how the surface will be cleaned and which stains may need added care. The plan should also cover nearby plants, walls, doors, and other surfaces that need protection. A clear professional paver cleaning and sealing evaluation connects each proposed step to an observed condition.
Cleaning and preparation come before any sealer choice. Dirt and organic growth must be addressed so they are not trapped beneath the finished surface. Where joints need work, the plan may include fresh angular joint sand after cleaning and before sealing. The paved area also needs suitable preparation time before the next step begins.
The right sealer depends on the paver type, current condition, desired look, and exposure to water or salt. A penetrating sealer may suit a natural finish, while a film-forming option creates a different appearance. The estimator should explain the tradeoffs instead of treating every patio the same.
Questions to ask the estimator
Homeowners comparing paver sealing after winter on Long Island should ask what the inspection found and why each step is needed. Useful questions include:
- Which areas show joint loss, staining, organic growth, or movement?
- Does any damage need repair before cleaning or sealing begins?
- How will nearby plants and building surfaces be protected?
- Will the joints need new sand, and what type will be used?
- Which sealer fits these pavers, and what finish should I expect?
- What site conditions must be met before each stage can begin?
Ask for the proposed work in writing, including preparation, joint care, sealer type, and areas covered. This makes it easier to compare estimates based on the actual process. Homeowners can also review broader ways to extend the life of pavers before discussing future upkeep.
How to prepare your outdoor space for an evaluation
A useful evaluation starts before the technician arrives. Clear access, record the changes you have seen, and gather any details about past work. For paver sealing after winter on Long Island, this prep helps keep the visit focused on your patio or walkway.
A clear work area
Move chairs, planters, grills, toys, and loose decor away from the pavers. Keep gates unlocked and make sure the technician can reach the full paved area. If an item is too heavy to move safely, point it out when scheduling the visit.
- Remove small furniture and portable planters.
- Keep pets and children away from the evaluation area.
- Mark loose steps, raised edges, or other trip risks.
- Make room near gates, outdoor faucets, and drainage points.
Do not scrub stains or refill joints right before the evaluation. The existing condition can help show where cleaning, sand work, or sealing may be needed. A professional paver cleaning and sealing evaluation should review the surface before a process is recommended.
A useful damage record
Walk the area after rain and note where water sits, drains slowly, or returns often. Also mark recurring stains, green growth, white deposits, and spots where joint sand keeps washing out. Photos taken after rain can show issues that may be dry on evaluation day.
This record matters because the right treatment depends on the cause of the damage. The National Park Service guidance on stone and masonry care calls for diagnosing the cause before choosing a treatment.
- Note when each issue first appeared.
- Share prior cleaning, sanding, repair, or sealing work if known.
- Identify sprinklers that spray the pavers or nearby planting beds.
- Point out downspouts, drains, and areas affected by runoff.
Bring any product names, invoices, or dates from prior service. If you do not know the details, say so rather than guessing. The current surface and your notes still give the technician useful context.
Questions for the evaluation
Ask which steps are recommended for your paver type and current condition. Find out whether the plan includes cleaning, joint sand, repairs, or a specific sealer. You can also ask how drainage or irrigation concerns may affect the work.
- Which stains or deposits can be addressed during cleaning?
- Do damaged or uneven pavers need repair before sealing?
- What parts of the process suit this surface?
- What access should remain clear for the service visit?
Before service day, confirm which items must stay off the paved area and how long access will be limited. This lets you plan for gates, pets, vehicles, and daily use without disrupting the work.
Explore Gulf2Bay paver cleaning and sealing services before scheduling spring work.
Frequently Asked Questions
When is the best time to seal pavers on Long Island?
The best time is after winter damage has been assessed and necessary repairs are complete. Choose a period with a stable, dry forecast and temperatures that meet the sealer manufacturer’s instructions. Before scheduling, check for loose pavers, missing joint sand, drainage problems, and stains. A professional evaluation can determine whether the surface is ready for cleaning and sealing.
Do Long Island winters damage unsealed pavers?
Yes, winter can damage unsealed pavers when absorbed water freezes, expands, and stresses the material. Repeated freezing and thawing may contribute to cracks, surface wear, shifting, and joint sand loss. Research summarized by the EPA shows that moisture saturation strongly affects concrete’s resistance to freeze-thaw damage. Poor drainage and deicing salts can add further stress.
What is the average cost to seal pavers on Long Island?
A published Long Island pricing guide estimates paver sealing at roughly $0.75 to $2.00 per square foot. The final price depends on patio size, paver condition, cleaning needs, joint sand replacement, repairs, and sealer type. An on-site assessment provides a more reliable quote because post-winter damage and drainage problems can increase preparation work.
Why is paver cleaning necessary before sealing?
Cleaning removes dirt, algae, mildew, stains, and winter residue before a protective coating is applied. Sealing a dirty surface can trap contaminants, create an uneven finish, and reduce proper sealer contact. Paver joints should also be checked and refilled when needed. As noted in surface preparation guidance, cleaning before sealing is critical for avoiding trapped buildup.
Does paver sealing help with organic growth?
Paver sealing can help limit water intrusion and make routine cleaning easier, which may reduce conditions that support algae, mold, and moss. However, sealing does not eliminate organic growth or replace regular maintenance. Shaded areas, poor drainage, and nearby vegetation may still encourage buildup. The correct sealer and preparation method should match the paver material, site conditions, and desired finish.
Ready to Plan Your Post-Winter Paver Care?
Waiting after winter can allow loose joint sand, stains, weeds, and small surface concerns to make your patio or walkway harder to maintain. An early spring evaluation gives you time to understand current conditions and plan suitable care before outdoor projects and gatherings fill your calendar. Starting now also gives you a clear path toward cleaner, protected pavers that are ready for regular use throughout the warmer months ahead.
Ready to make a practical plan for your patio, paths, and walkways before the busy season begins? Request your free on-site assessment to review your pavers and discuss the right timing for professional cleaning and sealing. Use the findings to choose a sensible next step for your Long Island home, whether that means service now or continued monitoring.