Cedar restoration storm damage is not always obvious from the ground. After high winds, heavy rain, or coastal spray, start by checking for loose or displaced boards, exposed edges, water entry, and debris; do not assume a darkened surface means the wood has failed. The right next step depends on whether the cedar is dirty, wet, physically damaged, or showing a finish problem.
Request a cedar siding assessment
What should you inspect for cedar restoration storm damage?
Begin with a safe ground-level check
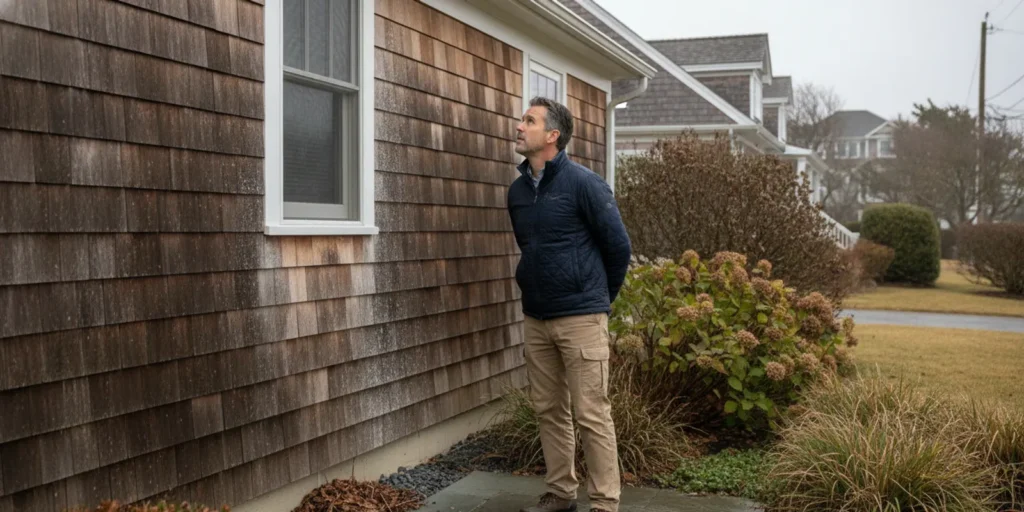
Walk around the home after conditions are safe. Look at each cedar elevation from the ground, including corners, trim, lower courses, and areas below roof edges. Use binoculars for upper walls if needed. Do not climb a wet ladder or approach loose overhead material to get a closer look.
Record the date, the side of the house, and what you can see. Take wide photographs that show the location, then closer photographs from a safe position. Repeat from the same viewpoints later. This makes it easier to tell whether a mark is changing and gives a restoration professional useful context.
Separate a surface change from a board problem
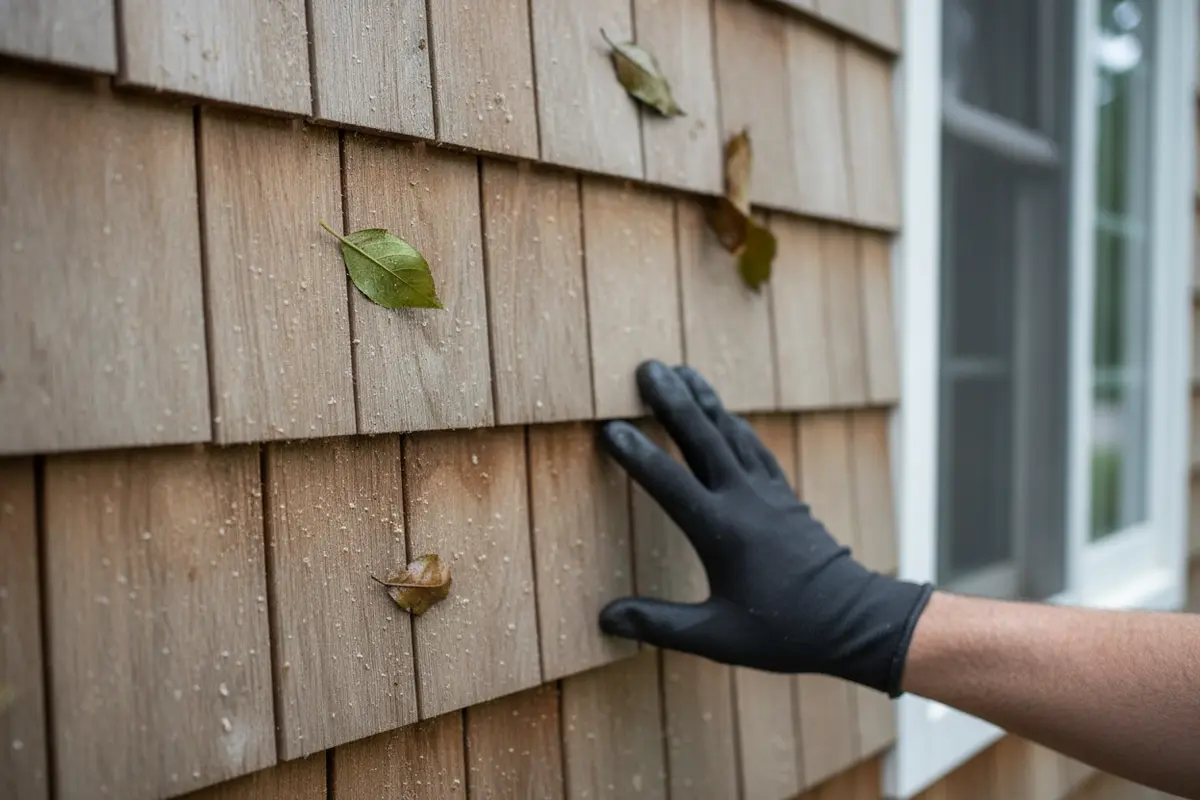
Storm effects can leave leaves, grit, salt residue, or streaks on siding. A change in color alone does not establish that cedar is structurally damaged. More concerning signs include boards that are visibly cracked, split, loose, displaced, or missing, along with open joints, lifted trim, and areas where water may have entered behind the siding.
Pay attention to patterns. Damage concentrated beneath a roof edge may point to runoff or debris impact. A broad, even film may be surface residue. Dark patches, peeling finish, or uneven color can have more than one cause, so avoid assigning a cause before the siding is dry and examined more closely.
When you take photos, include a reference point such as a window edge or corner trim. Photograph the same area straight on and from an angle if both views are safe. Note whether a mark follows the grain, crosses several boards, or appears only below a joint. These details help distinguish a single surface deposit from a pattern that deserves closer inspection, without requiring you to touch or test the siding.
For a focused overview of cedar care, see Gulf2Bay’s cedar restoration service information. The inspection should guide the work, not the desire to make every board look freshly finished at once.
How does cedar restoration storm damage differ from routine weathering?
Look for a change from the home’s prior condition
Before-and-after photographs are valuable because cedar naturally changes in appearance over time. Compare current views with recent listing photos, maintenance records, or your own earlier images. A new loose course after a storm is a different issue from gradual fading that was already present.
Routine weathering is often gradual and broadly distributed. A storm-related concern may be localized: a newly exposed edge, a cluster of boards hit by branches, or a section near a gutter that overflowed. These clues are not a diagnosis, but they help narrow the questions for an assessment.
Compare like with like. A shaded north-facing wall can look different from a sun-exposed wall even when neither has storm damage. Images taken in rain, at dusk, or with wet siding can also make color appear uneven. Use older images of the same elevation when possible, and avoid treating a difference between two sides of the house as proof of a new problem.
Check nearby components, not just the cedar face
Look at the roofline, gutters, downspouts, window trim, and nearby trees from a safe distance. A blocked or displaced gutter can send water over a section of siding. A damaged roof edge can direct water where it does not normally travel. If there are visible roof concerns, arrange the appropriate roof inspection rather than treating siding alone.
Check window and door surroundings for new staining, gaps, or signs of water getting indoors. If you see active leaking, wet interior materials, or a ceiling stain that is growing, address the water source promptly. Exterior cleaning is not a substitute for repairing an opening or stopping a leak.
Gulf2Bay also provides gutter cleaning and roof cleaning. Those services address their own maintenance needs; visible storm damage may require a separate repair professional.
What should you do in the first few days after a storm?
Document conditions before any cleaning
Photograph the entire elevation and each suspect area before removing residue or moving debris that could be relevant to an insurance review. Note when you observed the condition and whether rain continued afterward. Keep copies of prior maintenance records and any available pre-storm photographs together.
A simple record can be more useful than a long narrative. Write down the storm date, when you first noticed the condition, which side of the home it affects, and whether the mark or damp area changed after later rain. Save original photos rather than relying only on edited or cropped copies. If you contact a professional or your insurer, those notes provide a shared starting point.
If you plan to contact your insurer, follow its instructions for documenting and reporting damage. Do not rely on a cleaning visit to determine coverage. If you suspect an immediate safety issue or water intrusion, prioritize qualified help and protect people from the affected area.
Keep the first response gentle
Do not blast cedar with high-pressure water, scrape the surface aggressively, or apply a stain remover or brightener as a test. Forceful cleaning can damage wood fibers and may make a later assessment harder. Avoid putting a new coating over wet boards or over a surface whose condition has not been understood.
Loose debris that can be reached safely may be removed by hand, but do not pull at attached boards or trim. If debris is tangled in overhead lines, lodged on a steep roof, or caught above a second story, keep clear and call a qualified professional.
For general storm information and current weather resources, consult the National Oceanic and Atmospheric Administration. Follow local safety guidance before beginning an exterior inspection.
Use a simple triage sequence
First, decide whether anyone could be hurt by falling debris or unstable siding. Keep clear and arrange appropriate help if there is an immediate hazard. Second, look for water actively entering the home or reaching interior materials. Third, document visible changes from a safe location. Only after those priorities are addressed should you consider whether the remaining issue is surface residue or a finish concern.
This order prevents a cosmetic question from distracting you from an opening, leak, or unsafe area. It also avoids premature cleaning that could erase useful evidence or make a damp surface harder to assess. If you are unsure which category applies, describe exactly what you see and share the photos with a qualified professional rather than experimenting on the boards.
Which cedar conditions call for prompt attention?
Do not wait on a possible opening or loose board
Arrange a prompt inspection if you see missing or displaced siding, a board that is pulling away, exposed sheathing, a new opening at a joint, or evidence that water has entered the wall. A loose section can worsen in further wind, and an opening can allow more moisture inside. Keep people away from any unstable material until it is assessed.
Also act promptly when you notice active leaks, persistent dampness, new interior staining, or debris that has damaged siding around a window or door. A cedar restoration specialist can assess the wood surface and recommend whether cleaning or refinishing is appropriate, but repairs to framing, flashing, roofing, or other building components may call for a different trade.
Know when a stain can wait for a dry assessment
Light residue, temporary leaf marks, or a change in appearance without visible displacement may not require emergency work. Give the siding time to dry after the weather passes, then review the photographs and inspect again from a safe location. Avoid making a permanent finish decision while boards remain wet.
There is no reliable one-size-fits-all waiting period. Exposure, shade, temperature, rain, and the condition of the existing finish affect drying. If the surface remains damp, discoloration spreads, or you cannot tell whether a board is sound, ask for an in-person assessment rather than applying a product to find out.
When you review the area again, compare the same details rather than judging only the overall color. Has a board shifted? Is the joint still open? Does the damp area remain after surrounding surfaces have dried? Is there a new mark inside that lines up with the exterior location? A brief written comparison makes changes easier to describe and can clarify whether the next call should be about repair, moisture, or surface care.
How can you choose the right restoration approach?
Match the work to the observed condition
A useful proposal should identify the areas assessed and separate surface cleaning from repair or refinishing. Ask what the provider sees, which conditions are uncertain, what preparation is planned, and how the cedar will be evaluated before a finish is applied. For premium wood, the method matters as much as the desired color.
Cedar requires surface-specific care. A plan should not default to forceful water or treat all siding like a hard, nonporous surface. Gulf2Bay SoftWash specializes in exterior restoration and is a Panofam-certified cedar contractor. The cedar service page describes the relevant service: cedar siding restoration on Long Island.
Use the inspection to compare next steps
| What you observe | Practical next step | What to avoid |
|---|---|---|
| Loose, missing, or split boards | Keep clear of unstable material and arrange an assessment; address repair needs before cosmetic work. | Pulling boards back into place or covering an opening with finish. |
| Water entry or new interior staining | Document it and promptly identify and stop the source with the appropriate professional. | Assuming exterior cleaning will resolve a leak. |
| Surface residue with no visible displacement | Photograph it, let the siding dry, and ask whether gentle cleaning is suitable. | Testing with a pressure stream, harsh scrub, or unapproved chemical. |
| Fading, peeling, or uneven finish | Have the surface and existing finish assessed before selecting preparation and refinishing. | Applying a new coating before moisture and finish condition are checked. |
Ask specific questions before work begins
- Which cedar areas show storm-related change, and which show ordinary weathering?
- Is the proposed scope cleaning, repair, refinishing, or a combination?
- How will the cleaning method protect the wood surface?
- Will the cedar be checked for suitable dryness and condition before a finish is applied?
- Which repairs are outside the restoration scope and need another qualified trade?
- What should be moved or protected around the home before the crew arrives?
Clear answers help you compare proposals on scope and method rather than on a vague promise to make the siding look new. Ask for the proposed areas, preparation, and exclusions in writing. For example, a scope that says only “clean cedar” does not tell you whether loose material will be repaired, how the provider will handle an existing finish, or whether staining is included. A precise scope gives you a better basis for deciding what work is appropriate.
Review the company’s background and approach, and use the residential exterior services overview to see where cedar work fits among other exterior needs.
How should Long Island homeowners plan cedar work after a coastal storm?
Account for exposure and access
Homes across Long Island can have different exposures depending on orientation, tree cover, roof shape, and proximity to open water. The Hamptons, Nassau’s North Shore, and other coastal areas may have their own site conditions. That does not mean every coastal home needs the same treatment. The inspection should reflect the actual cedar, finish, and observed storm effects.
Plan access before scheduling. Note steep rooflines, narrow side yards, gates, delicate landscaping, and areas where fallen branches remain. Tell the provider about any loose material or known leak before a visit. Do not ask a crew to work beneath an unstable tree or roof edge until the hazard is addressed.
For a second home, arrange access and a local contact before the visit. Share photos of the affected elevations, identify a safe place to park, and mention gates or restricted areas in advance. If no one can be present, confirm how the assessment findings and next steps will be communicated. Clear access details make it easier to focus the visit on the siding rather than discovering basic site constraints on arrival.
Coordinate related exterior maintenance
Once the immediate damage question is settled, consider whether nearby surfaces need separate attention. Salt residue on glass, debris-filled gutters, or a dirty deck may have different materials and cleaning requirements. Avoid bundling unrelated tasks into a single generic treatment; ask how each surface will be handled.
For example, cedar siding and an existing hardwood deck need distinct approaches. Gulf2Bay’s deck restoration service covers restoration of existing decks, while its window cleaning service addresses glass. Homeowners in Nassau and Suffolk can review the company’s Long Island service areas when planning a visit.
What should you remember about cedar restoration storm damage?
Use evidence to decide, not guesswork
After a coastal storm, inspect safely, photograph changes, and separate visible surface residue from signs of movement, openings, or water entry. Do not use high pressure or apply a finish as a diagnostic test. Repair active damage first, then decide whether the cedar needs cleaning, refinishing, or another form of work.
The best plan is specific to the boards and conditions at your home. A careful assessment can help preserve sound cedar and identify the parts that need attention without turning every weather mark into a major project.
Before you approve work, make sure the proposed method matches the material and the observed condition. Keep your photos, notes, and scope together so later maintenance can be compared against a clear record of what changed and what was addressed.
Arrange a cedar siding assessment
Frequently asked questions
Can storm residue be cleaned from cedar siding?
Often, surface residue may be removable, but the right method depends on the cedar, its existing finish, and the material on the surface. Photograph the condition and have it assessed before trying pressure, scrubbing, or a chemical treatment.
Should I stain cedar siding right after heavy rain?
No. Do not apply a finish while the wood may still be wet or before its surface condition is understood. Drying conditions vary, so have the boards assessed and follow the finish and preparation requirements for the specific project.
Does dark cedar after a storm always mean damage?
No. Darkening can have different causes, including surface deposits, moisture, or an existing finish issue. Look for other signs such as loose boards, splits, open joints, or water entry, and get an assessment when the cause is unclear.
Can I use a pressure washer to remove storm marks?
A forceful stream can damage cedar fibers or finishes. Do not test it on the siding. Cedar should be evaluated and cleaned with a method selected for the wood and its condition.
When should I contact a cedar restoration professional?
Contact one when you see displaced or missing boards, an opening, persistent moisture, or a finish problem you cannot identify. If there is active water entry or an unstable hazard, address that urgent issue with the appropriate qualified professional first.
Keep photographs and notes with your maintenance records so the next inspection can compare the cedar against its condition after the storm.