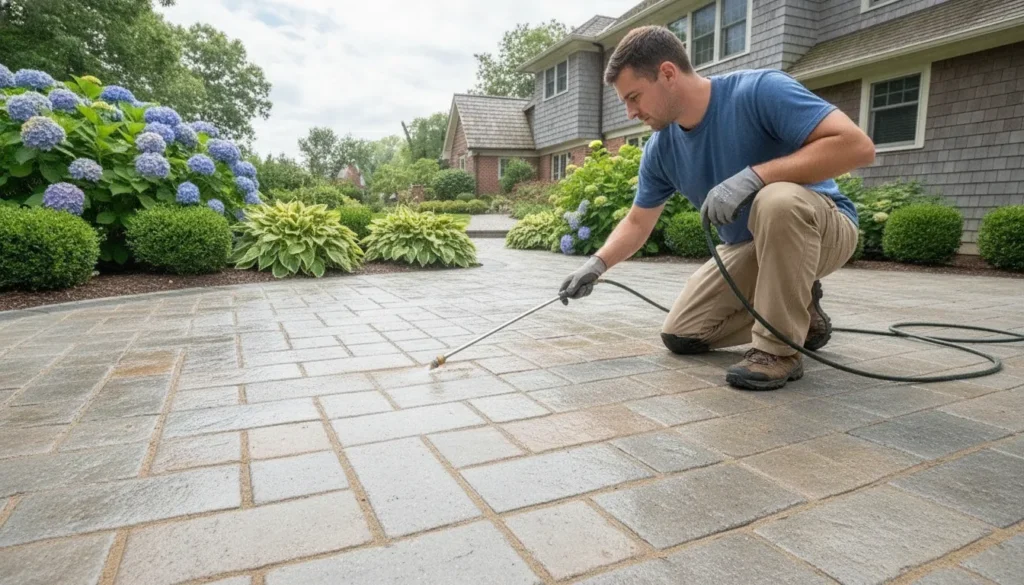
Weeds rarely start with the sealer. They start when soil, organic debris, and moisture collect in open or damaged joints. Once established, roots can destabilize the joint material and make the surface uneven. The right fix is a sequence: inspect the paver system, clean the surface and joints, remove existing growth, restore the joint sand, then apply a compatible joint-stabilizing sealer.
The practical answer to how to seal pavers to prevent weeds is to seal only after the joints are clean, properly filled, and dry. A sealer can help stabilize sound joint material, but it will not correct settled pavers, a failed base, missing edge restraint, or drainage problems. Regular sweeping also limits the soil buildup weeds need. (Source: Cornell University.)
Request a free on-site paver assessment before choosing a product. Start by checking whether the installation is stable enough to seal.
Before You Seal, Inspect the Paver System
Sealer works with a stable paver installation. It does not level settled areas, replace a failed base, repair broken pavers, or correct drainage. Start by walking the entire patio, walkway, or driveway in daylight. Look for pavers that rock underfoot, low spots, wide or empty joints, cracked units, and areas where joint material has washed away.
Check the joints, edges, and water path
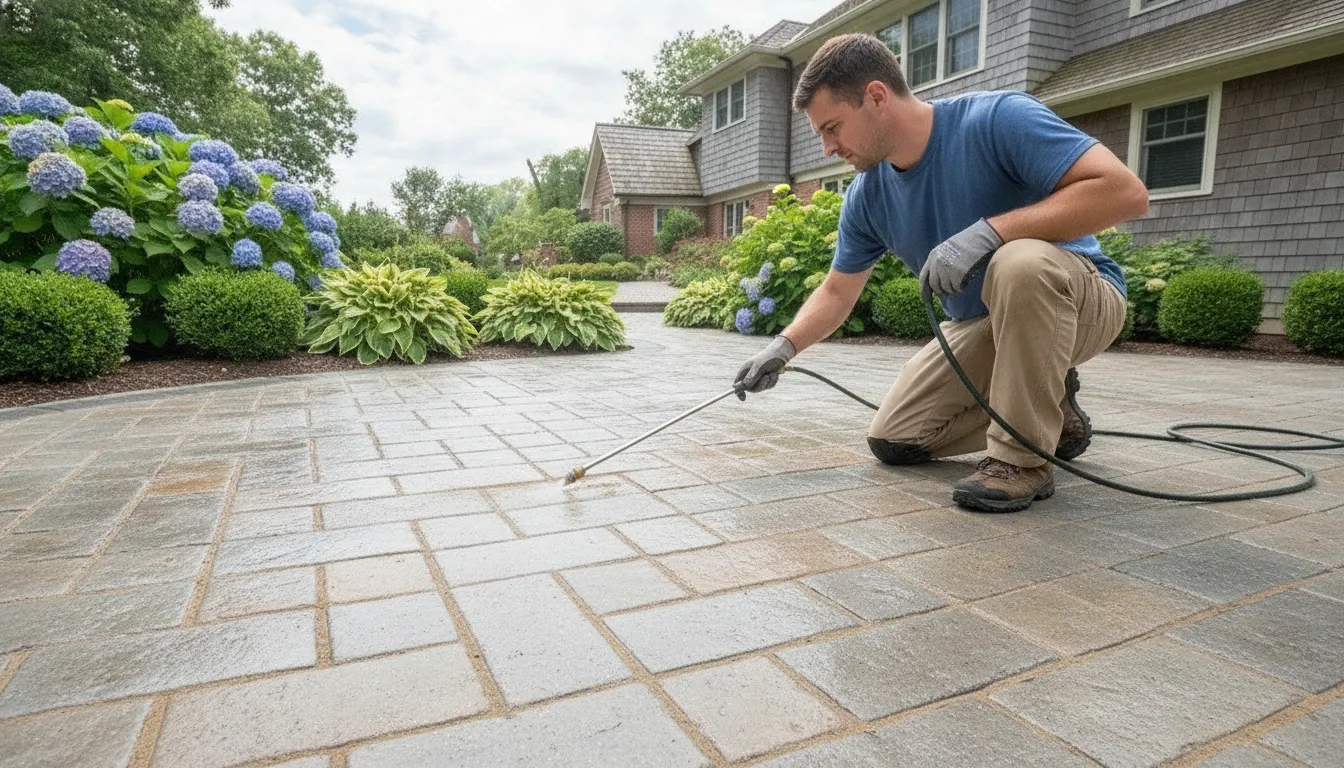
Weeds establish readily where soil collects in gaps, cracks, joints, and depressions. That growth can make a hard surface uneven or slippery, expand cracks, and destabilize joints and seals. Cornell University recommends preventive weed management before the problem is established, along with regular sweeping to limit soil accumulation in openings: Cornell’s hard-surface weed guidance.
Inspect the edge restraint next. Missing or loose edging allows pavers to spread, opening the joints you are trying to stabilize. Check the slope and observe where water goes after rain. Standing water, slow drainage, or a surface that directs runoff toward the house points to a grading or drainage issue, not a sealing issue. Fine sediment, leaves, weeds, and other organic debris can also clog pervious pavers and reduce drainage efficiency, according to this government pervious-paver care sheet.
Fix or replace damaged pavers and correct movement, edge failures, or drainage defects before cleaning and refilling the joints. If the pavers are sound, remove existing growth carefully. Hand weeding is recommended as the safest way to avoid damaging paver bricks. And weeds near adjoining vegetation deserve extra attention because they can spread inward or beneath the pavement. Only after the system is stable should you choose compatible joint material and plan the sealer application.
Clean the Pavers and Remove Existing Weeds
Follow the preparation sequence
Sealer cannot bond cleanly to a joint filled with soil, roots, leaf debris, or loose sand. Prepare the entire surface before adding replacement joint material.
- Remove loose debris first. Sweep leaves, dirt, and organic matter from the paver surface and joints. Fine sediment and organic debris can clog pervious pavers and reduce drainage efficiency, so inspect carefully after heavy rain and during fall cleanup. Regular sweeping also limits the soil accumulation that gives new weeds a place to establish.
- Remove existing weeds before they seed. Hand weeding is the safest way to avoid damaging paver bricks. Wet the soil first when a weed has a large taproot, such as a dandelion or dock. Pull slowly and remove as much of the root as possible. A block-paving brush works well on moss and small, non-established weeds. Use a block-paving knife for growth rooted tightly in a joint or crevice. Cornell’s hard-surface weed guidance recommends removing weeds before seed heads form to reduce seed dispersal. Read its hard-surface weed-control guidance for additional methods.
- Clean the paver faces and joints separately. Treat surface staining, algae, and dirt without assuming that the same approach is suitable for joint material. Agitate contaminated joints so roots and compacted soil are released, then remove the loosened material. The goal is a clean, open joint that can accept the correct sand, not a visibly clean top layer hiding debris below.
- Use controlled pressure. Choose surface-specific equipment and low-pressure methods rather than defaulting to aggressive pressure. High force can displace sound joint material or drive debris deeper into openings. Protect nearby beds and edge vegetation, since weeds can spread inward from adjacent planted areas.
- Let the work dry, then inspect. Do not rush from rinsing to sanding or sealing. Once the pavers and joints are dry, look for remaining roots, hollow or missing joint material, cracked pavers, settlement, and areas where water remains. Correct those conditions before rebuilding the joints. For a broader overview of paver cleaning before sealing, review the related maintenance guide.
Cleaning is complete only when the joints are free of active growth and loose contamination. The next step is selecting joint material that suits the paver system and its drainage needs.
Rebuild the Joints With the Right Sand
Match the joint material to the paver system
Once the joints are clean and the weeds are gone, refill them with clean material that suits the installation. Empty or contaminated joints collect soil, which gives new weeds a place to establish. Filling the gaps between pavers is a basic weed-prevention measure, but the material choice matters more than simply sweeping in whatever sand is available.
Standard joint sand is the simplest option for many conventional paver areas. It fills the space between units, but it does not become a bonded surface by itself. Polymeric sand combines fine sand with polymers and binding agents. When activated with water, it becomes solid, which can help keep pavers in place and reduce weed growth. The University of Florida Extension explains the material and its drainage tradeoffs in its discussion of polymeric sand and stormwater runoff.
| Material | Role | Note |
|---|---|---|
| Standard joint sand | Fills joints. | Needs maintenance. |
| Polymeric sand | Fills and stabilizes. | Not porous. |
| Permeable paver sand | Supports drainage. | May need reapplication. |
Permeable paver sand uses angular particles that lock together and is designed to let water drain through the system. Coarser particles generally improve permeability, but larger granules may provide less effective weed prevention. That is the central tradeoff. The best joint material depends on whether the installation retains water, moves it through the surface, or sheds it across a slope.
Do not change a drainage design by changing sand alone. Polymeric sand can be a poor fit for a permeable system, while permeable material may not deliver the weed control expected in a conventional patio. Existing base construction, joint depth, edge restraint, slope, and drainage paths all matter. Refill with clean aggregate, and confirm compatibility before sealer is applied.
How to Seal Pavers to Prevent Weeds
Sealer is the finishing step, not a substitute for clean joints and sound joint material. A joint-stabilizing sealer works best when the pavers have been cleaned, the weeds and organic debris are gone, and the joints are filled evenly with the appropriate sand. Polymeric sand can help keep pavers in place and stop weeds, but it is not porous. So the drainage requirements of the installation must be considered before selecting it. Review the drainage tradeoffs of paver joint materials before sealing.
Apply sealer only after the joints are ready
Start with stable, dry joints. If sand is missing, loose, contaminated, or sitting below the intended joint level, correct that condition first. A sealer cannot replace joint sand or stabilize pavers that are moving because of a failed base, poor edge restraint, or settlement.
Once preparation is complete, follow the selected product label for application method, weather conditions, coverage, and cure requirements. Those directions control the job. Do not apply simply because the surface looks clean. Moisture in the joints, rain in the forecast, or unsuitable temperatures can affect the finished result.
Apply the sealer evenly across the prepared surface and avoid leaving heavy pools or untreated strips. The goal is consistent coverage that supports the joint material without changing how the installation is designed to handle water. On permeable systems, use only a compatible product and method. Permeable paver sand is intended to support drainage while stabilizing the pavers, while larger granules may provide less effective weed prevention. Keep pervious paver joints clear of debris so the system can continue draining properly.
Gulf2Bay uses professional-grade Trident joint-stabilizing sealers described as EPA and VOC compliant and freeze-resistant. They are available in natural, wet-look, and high-gloss finishes, with approximately three to four years of durability listed in the service guidance. That is a maintenance interval, not a permanent guarantee. Weather, traffic, drainage, surface condition, and ongoing care all influence performance.
When Sealing Will Not Fix the Problem
Sealer works with a stable paver installation. It does not correct pavers that have settled, a failed base, missing edge restraint, broken units, or a slope that sends water toward the house. If the foundation beneath the pavers has moved, sealing the surface only locks in an existing problem.
Look for rocking or uneven pavers, wide or eroded joints, recurring puddles, and edges that spread outward. Standing water points to a grading or drainage issue, not a sealer issue. Polymeric sand can help stabilize joints, but it is not porous, so it should not be treated as a solution for a system that depends on water infiltration. Permeable installations need compatible materials and clear drainage paths. Paver patio repair and restoration should come before sealing when the installation has moved or failed.
What to repair before applying sealer
Replace broken pavers, correct settled areas, and restore missing or displaced joint material. Check edge restraints where the perimeter is spreading. Inspect low spots after rain, and check downspouts and nearby filters for leaves or debris that could redirect water onto the surface. Fine sediment, organic debris, and weeds can clog pervious pavers and reduce drainage efficiency, so clear them before they become a recurring problem. See the pervious paver care guidance for inspection and maintenance details.
Maintenance starts after the sealer cures. Sweep routinely to remove soil before it settles into joints. Inspect after heavy rain and during fall, when leaves and organic debris collect quickly. Pull weeds early, before they produce seed heads. Weeds can destabilize joints, expand cracks, and make hard surfaces uneven or slippery, so small growth is easier to address than established growth.
Plan for periodic inspection rather than a one-time treatment. Gulf2Bay’s Trident joint-stabilizing sealers are listed at approximately three to four years of durability, depending on conditions and use. Reassess the joints, drainage, and surface condition before recoating. Sealing a sound installation can support weed prevention. It cannot replace repairs or regular care.
Frequently Asked Questions
What can you put between pavers to prevent weeds?
Start with clean, fully cleared joints, then refill them with a joint material suited to the installation. Polymeric sand is one option because it becomes solid when activated with water and can help keep pavers in place while limiting weed growth. Cornell turf guidance also identifies filling paver joints as a weed-prevention measure.
How can you stop weeds from returning between pavers?
Remove existing growth before it forms seed heads, clear soil and organic debris from the joints, refill missing sand, and keep the surface swept. Prevention works best before weeds are established, and regular sweeping reduces the soil accumulation that gives new weeds a place to root. Sealing can stabilize compatible joint material, but it does not correct settlement, drainage, or a failed base.
Is polymeric sand always the right choice for paver joints?
No. Polymeric sand can help control weeds, but it is not porous, so water cannot soak through it. A permeable paver system may need a different joint material designed to support drainage. Choose based on the existing base, slope, drainage requirements, joint width, and paver manufacturer’s guidance rather than using the same sand on every project.
Is there a downside to sealing pavers?
There can be if the surface is damp, dirty, structurally unstable, or incompatible with the product. Sealer will not repair broken pavers, missing edge restraint, settlement, or standing-water problems. It also does not eliminate maintenance. Inspect the joints and drainage first, follow the product label, and plan for periodic sweeping and touch-up work.
Get a Paver Assessment Before You Seal
The right sealer depends on the condition of the pavers, joints, edges, and drainage. An on-site assessment can identify the preparation steps needed for a cleaner, more stable finish and clarify when repair should come before sealing.
Request a free on-site paver assessment for cleaning and sealing